How to Add Sentiment
Once we collect the data, the dot next to each result will be blank until you assign sentiment.
This video shows the most efficient way to add sentiment.
Step by Step Instructions:
You will need to go into the Brands Manager. For the sake of organization, we recommend creating at least three Brands for your sentiment coloring, Positive, Neutral, and Very Negative (green, gray, and red).
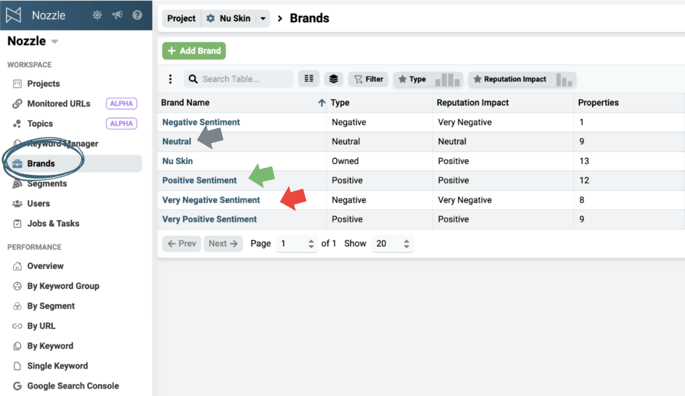
Once you've clicked Add Brand, you will need to write the name in the appropriate box, then fill out the Brand Type and Reputation Impact sections.
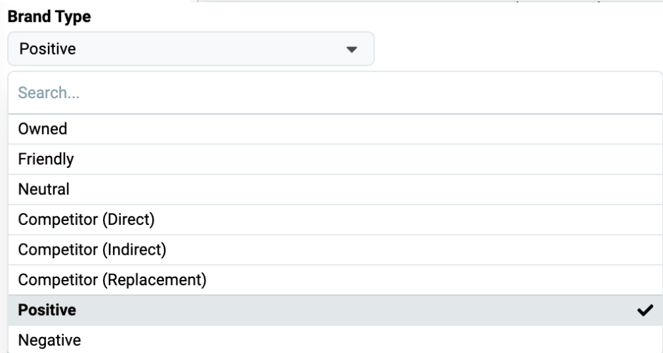 The Brand Type section isn't really important, other than for organization purposes. The options we are focusing on would be Positive, Neutral, and Negative, based on what sentiment type you are creating.
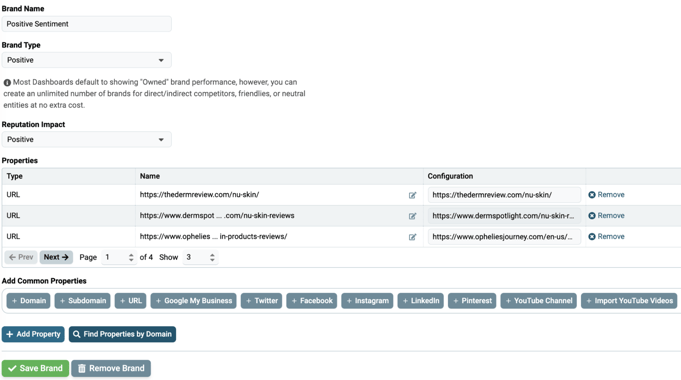
The Reputation Impact section is what creates the coloring on the ORM dashboard. Choose based on what color scheme you need. Very Negative is red, Negative is orange, Neutral is gray, Positive is green, and Very Positive is blue.
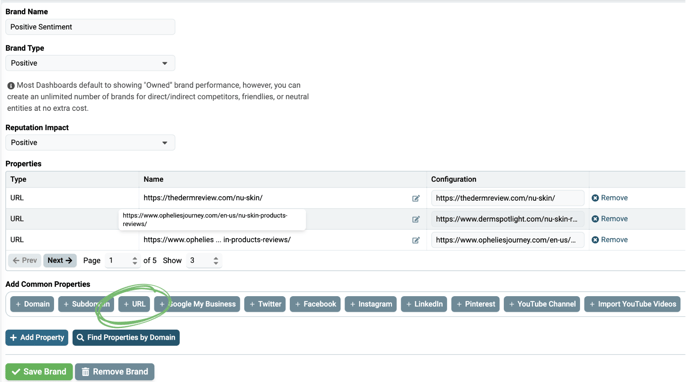
The last step to adding sentiment is to add the URLs into the Brand. To do this, click the +URL button and copy and paste all the URLs you need into the pop-up. Then click Save Brand. Your edits should show up in the Reputation Dashboard immediately.
🌻🌻🌻 Make sure to paste in the exact URL that you see on the Reputation Management Dashboard. Sometimes these URLs, when clicked, will redirect to another URL. If you paste in the redirected URL, the sentiment coloring won't work. 🌻🌻🌻
For example, in the image above, the three URLs in the Properties table will show up as green in the ORM chart because the Reputation Impact is Positive.
Here's what our Reputation Management Dashboard looks like after sentiment has been added to each URL.
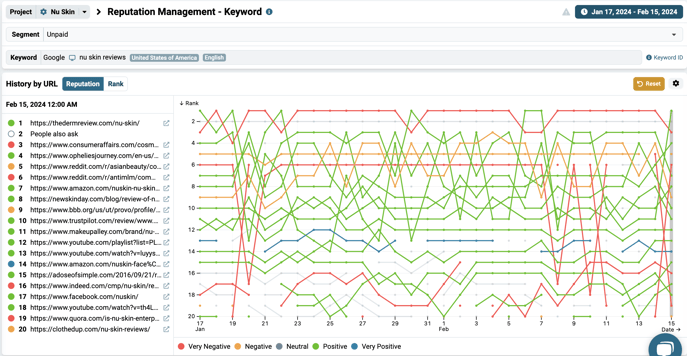
Go take down those negative results!